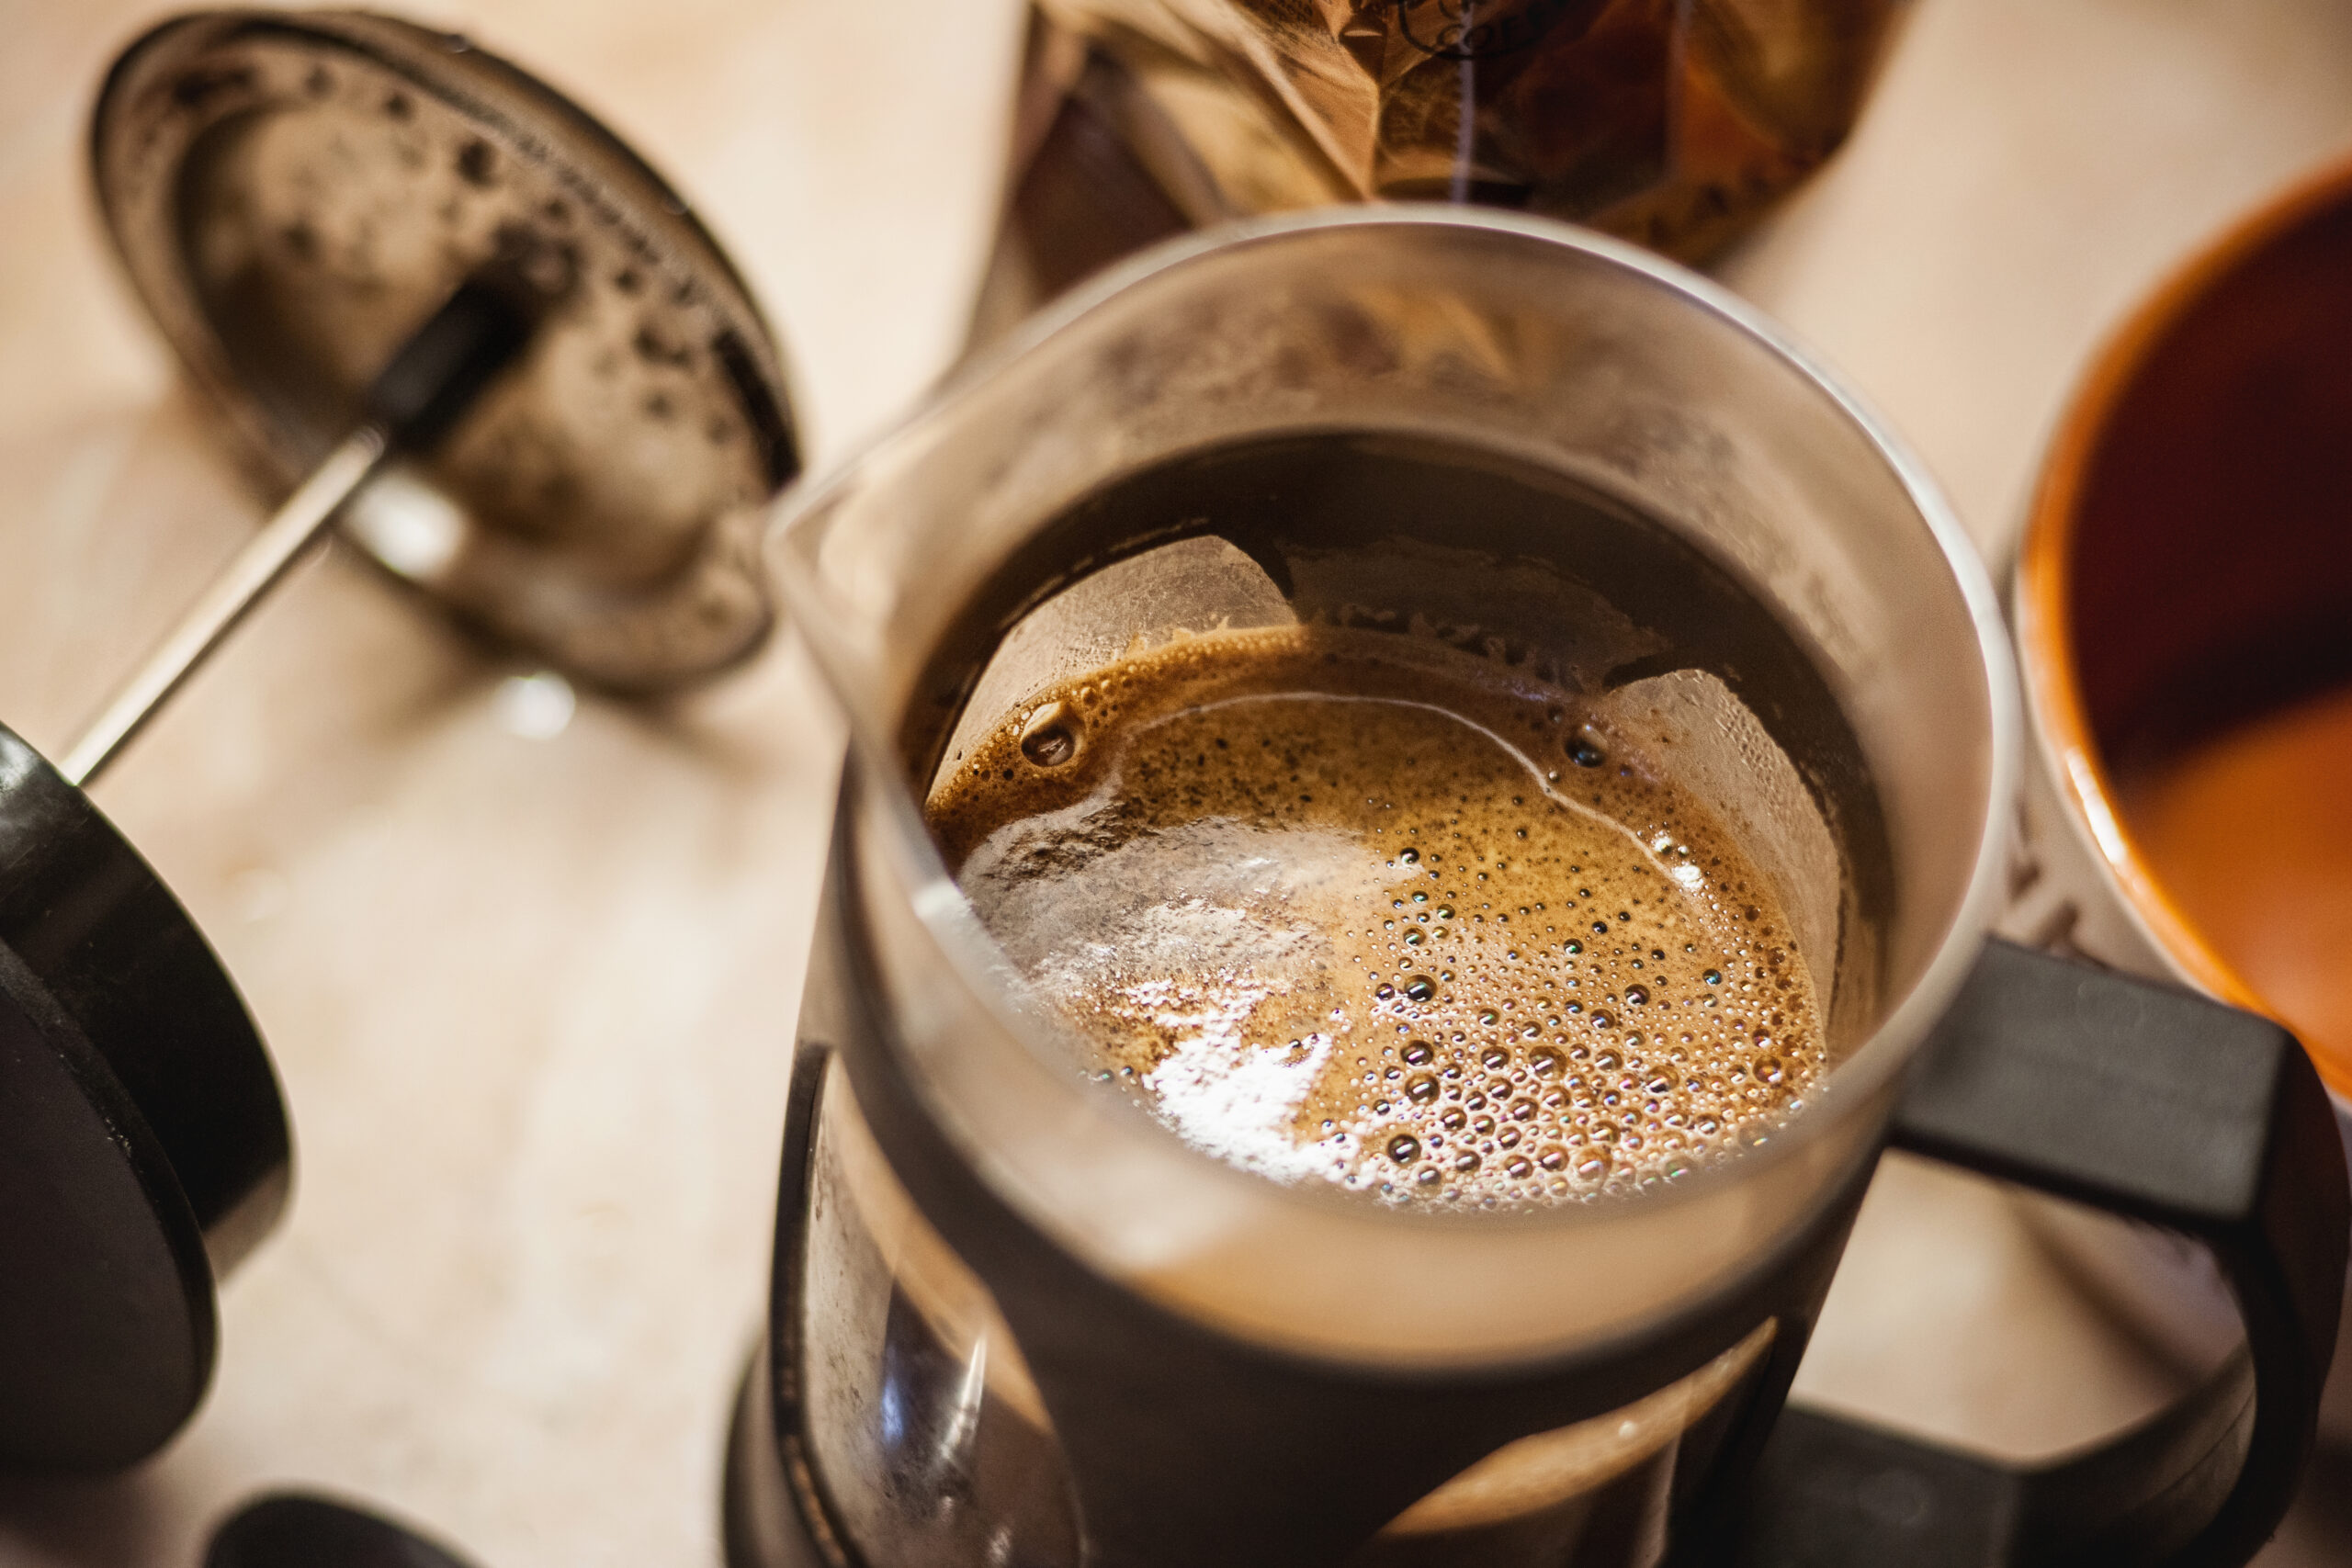
The U3 Guide to the Perfect French Press Coffee
The French press is a tried-and-true method of immersion brewing because it’s flexible, forgiving, and easy to master.
French press coffee is a favorite among coffee lovers for its robust flavors and creamy mouthfeel.
Learning how to use a French press is simple with our step-by-step guide!
Craving a cup of rich, flavorful coffee that bursts with fresh-brewed aroma? Then the time-tested French press is your trusty ally in the world of immersion brewing.
The French press is genius in its simplicity, unmatched in its all-in-one design, and known for brewing up full-bodied, smooth cups. It’s no wonder everyone from coffee experts to newcomers want to know how to brew with a French press!
What Is French Press Brewing?
The French press has a long history of being a fan favorite with coffee lovers. The first infusion brewer was patented by French inventors Otto Mayer and Jacques-Victor Delforge in 1852, but in 1929, Italian inventors Attilio Calimani and Giulio Moneta incorporated an important—and now iconic—improvement: a mesh filter with a spring that helped maintain a seal and avoid grinds in the finished brew. Its popularity among European and American coffee drinkers really took off in the second half of the 20th century when the Dutch company Bodum cracked the code on mass-producing a sleek, stylish glass version.
The basic idea is pretty simple: your grounds steep in hot water in the carafe, giving the water a chance to extract the ideal amount of oils and flavorful compounds from your favorite roast. When you press down on the plunger, which is attached to a mesh filter that catches the grounds, pushing them to the bottom of the carafe.
Beloved by coffee connoisseurs for its ability to deliver robust flavor, the French press is also perfect for newcomers to the world of hand brewing because it’s flexible, forgiving, and easy to master. Plus, it’s one of the most eco-friendly brewing methods!
While the range of presses available on the market can be dizzying, with a multitude of colors and metals; glass, plastic, and steel carafes; and wide range of price points, they all function essentially the same way. You put coffee in the press, add hot water, wait, push the plunger down, and pour. Simple enough? The real magic, though, is in the details.
Looking for a quick, simple french press technique? We’ve got you covered!
How to Use a French Press: Equipment
When it comes to knowing how to use a French press coffee maker to brew the perfect cup of coffee, the right equipment creates a solid foundation for you to experiment and explore. The beauty of the French press is that you’re in the driver’s seat, and the tools you choose can help you find the perfect flavor profile and develop a method that can give you consistently great results!
Here’s what you’ll need for the perfect French Press coffee:
- French press brewer: You’ll find numerous options on the market in a wide range of materials, sizes, and price points. What works best for you will depend on your unique needs: Do you want something large enough to brew for a crowd? Do you prefer glass over plastic? Do you want the bells and whistles, like a built-in timer, or are you a fan of sleek, simple design? The choice is yours. We recommend looking for options that are durable, easy to clean, and include a high-quality filter.
- Grinder: While you can use ground coffee for your pour over, freshly ground beans will give you the maximum flavor. Hand grinders and blade grinders will both work, but Burr grinders like our Opus Conical Burr Grinder will give you the most control and create the most consistent results.
- Kettle: You have options that range from the old-school stovetop kettle all the way up to high-end electric gooseneck kettles. We love our Stagg EKG Electric Kettle because the gooseneck spout allows for a controlled pour rate and the temperature control is top-notch, getting you to the precise temperature for your best brew.
- Scale: A digital scale will be key for making sure that you’ve got exactly the right ratio of coffee to water. We love our Hario Coffee Scale because it’s super precise and includes a built-in timer that will help you keep track of your bloom and brew times.
Your Step-by-Step Guide: How to Make French Press Coffee
Step 1: Choose Your Ratio
The foundational step for brewing up the perfect cup of coffee in your French press happens before you ever touch a single piece of equipment. Before you dive into the hands-on steps of the brewing process, you need to know the ideal ratio of coffee to water.
Here at U3, we find the ratio that works the best for the widest variety of roasts and beans is 1:15. That means for each 1 gram of coffee, you’ll need to add 15 grams of water.
Wait a minute, we usually measure coffee servings in ounces, not grams, right? Yep, you’re not wrong! But because we’ll be using a scale to make sure we’re nailing that ratio, we’re measuring in weight (g) instead of volume (oz).
Don’t worry—we’d never leave you hanging!
If you’re using a 34 oz. French press, you’ll be aiming for about 60 g of coffee and 900 g of water.
Looking for a guide to choosing the right beans for you? We share our secrets here!
Step 2: Heat Your Water
With your ratio worked out, it’s time to start heating your water. The ideal temperature range for French press brewing is between 198°F and 205°F. A good rule of thumb is that you’ll want to use the higher end of the range for light roast coffees and the lower end of the range for dark roasts.
You’ve got options when it comes to heating your water.
- Variable Temperature Kettle:If you’re someone who really likes precision, an electric kettle that allows for temperature control and has a “hold mode” is going to be a great option for you. You can set your kettle to the exact temperature you want, and no matter how long the next steps take, you’ll know that your water will still be the perfect temperature when you’re ready to start pouring. We especially love gooseneck kettles because they give you the most control when pouring.
Check out our favorite electric kettle—the Stagg EKG Electric Kettle—in the U3 Coffee Exchange!
- Standard Electric Kettle or Stovetop Kettle:A standard electric kettle or a stovetop kettle can give you great results too! Bring your water to a rolling boil. If you’re brewing a light roast coffee, you can use water straight off the boil, which will bring out the beautiful acidity in your grinds. If you’re brewing a medium roast or dark roast, let your water cool for 30 to 60 seconds off the boil—the darker the roast, the more time you should give since the slightly cooler water will allow the sweetness of darker roasts to truly shine.
Don’t worry about weighing your water at this stage! We’ll be keeping track as we pour. But add a bit more than you need to your kettle since we’ll be using some of our heated water to prep our dripper in the next step.
Step 3: Measure Your Coffee
Once you’ve got your ratio worked out and your water heating to a boil, you’re ready to break out your trusty scale—remember a perfect cup of coffee is both art and science, and that scale is going to help us make sure that we stick to that 1:15 ratio.
Check out our favorite Hario Coffee Scale in the U3 Coffee Exchange!
Start by handpicking fresh, high-quality coffee. Opt for roasts that align with your flavor preferences. Light roasts are known for their fruity, floral notes. Dark roasts tend to highlight rich, chocolatey flavors. Medium roasts strike a beautiful balance, sweet but perfectly acidic.
Achieving the perfect grind might seem like a minor step in the brewing process, but it has a pretty major impact on your coffee! In fact, Kevin Sinnott , brewing expert and founder of CoffeeCon, thinks that the grind is the single most important factor in the flavor of any cup of coffee!
If you’re grinding your own whole bean coffee, you’ll want to aim for a medium-coarse grind for French press brewing. Anything finer, and your plunger filter may not be able to effectively eliminate them, leaving you with silt in your finished cup. Anything coarser may result in the water not fully penetrating the grounds, resulting in an under-extracted, sour cup.
Use your scale to weigh out your whole beans to fit the 1:15 ratio, then run them through your grinder. We love the Opus Conical Burr Grinder because it creates an even grind size, which creates ideal extraction and ensures there aren’t small fines that will escape through the mesh filter and muddy up your brew.
You can find our curated selection of whole bean coffees in the U3 Coffee Exchange!
If grinding your own beans feels a bit too demanding for you at this point in your journey, you can always opt for ground coffee—but be aware, the ground coffee you find on store shelves is generally meant for automatic coffee makers, which means it’s ground too fine for this method.
We’ve got you covered, though! When you order ground coffees on the U3 exchange, we give you the option to choose your brewing method. That allows us to customize the grind size based on your needs. Choose “French press,” and we’ll send you the perfect medium-coarse grounds so you can master your brew!
Find our delicious selection of sustainably sourced ground coffees in the U3 Coffee Exchange!
Step 4: Prep Your Press
Remove the lid and plunger. Take a minute to make sure that the filter on the bottom is on tight and free from any residue. For now, we’ll be setting it aside, but this is a good time to make sure that it’ll be ready to go when you need it.
Add the ground coffee you measured in Step 3 to the bottom of the brewer. Then set the carafe on your scale, make sure your scale is set to measure grams, and tare it—in other words, zero out the weight. From here on out, we’ll only be measuring the weight of the water we add in order to maintain our ratio.
Step 5: Let it Bloom
Keeping an eye on your scale, slowly pour half of your water over the grounds, which creates your “slurry”—the mixture of coffee grounds and water—and set a timer for one minute. Now we’re going to give the slurry a chance to “bloom.”
As soon as you wet your coffee grounds, they’ll begin releasing carbon dioxide. That CO2 can leave your finished cup with a harsh, sour taste. During that one-minute bloom, we’re allowing the coffee a chance to de-gas before we start the full brew. You’ll notice bubbles rising to the surface of the liquid, and you’ll see the slurry expand. This step also gives some of the finer grinds a chance to settle so that they’re less likely to make their way into your mug.
When your timer goes off, give your grounds a gentle stir. We’re not looking to whisk our grounds here; we don’t want to agitate it too much and bring those fine grinds to the surface again. We’re just stirring enough to make sure that all the grounds have been fully saturated before we move on to brewing. Be especially careful not to stir too close to the sides if you’ve got a glass brewer; the heat can make your carafe especially susceptible to cracks at this point in the process.
Step 6: Brew
Again, with an eye toward your scale, add the rest of your water to the grounds and set a timer for three minutes. Set the lid with the press on top to help retain heat (in other words—don’t press yet!) while we allow the grounds to brew and fully release all of those magnificent flavors.
Step 7: Press
Here’s the step we know you’ve been waiting for—the signature move that makes the French press fun! It’s time for the plunge!
Gently, and with even pressure, start to push down on the plunger. This will push the filter down to the bottom of the beaker, straining out the grounds so that they don’t end up in your cup.
Step 8: Serve and Enjoy
Now’s your moment to sit back and enjoy all of your hard work—from choosing the perfect roast and ratio to achieving the ideal grind and nailing the brew. Enjoy it, because you’ve earned it!
If you’re not serving up your whole pot at once, don’t keep it in the brewing carafe. As long as the water is in contact with the coffee grounds, it will keep extracting, which means that your originally perfect brew can end up bitter and harsh. Pour it into a server, like our favorite Fellow Might Small Glass Carafe, instead so that you preserve that perfect flavor you’ve achieved.
How to Use a French Press: Troubleshooting
Feel like there’s still room for improvement in your press? Here are a few tricks of the trade to keep in mind:
If your final cup tastes weak or sour, experiment with a slightly finer grind or an extra gram of coffee.
If your final cup tastes too strong or bitter, experiment with a slightly coarser grind.
Conclusion
There you have it—everything you need to know about how to use a French press! Remember that different coffees and roast levels will affect the final outcome of your French press, so we always encourage you to experiment and hone your technique based on your preferences! As you continue to experiment with your method, you’ll find the coffees, the equipment, and the techniques that match your tastes and elevate your coffee drinking experience.
French press brewing takes some patience, but that means that you’ll truly savor that first sip—and every one after!
Related posts
- Apr 2025 Elevate your coffee-based cocktails! Discover new takes on the espresso martini, Irish coffee, & more classic coffee drinks.
- Feb 2025 Discover the top coffee trends for 2025, from cold coffee innovations to mindful coffee drinking. Explore the latest and future coffee trends in the coffee industry.


