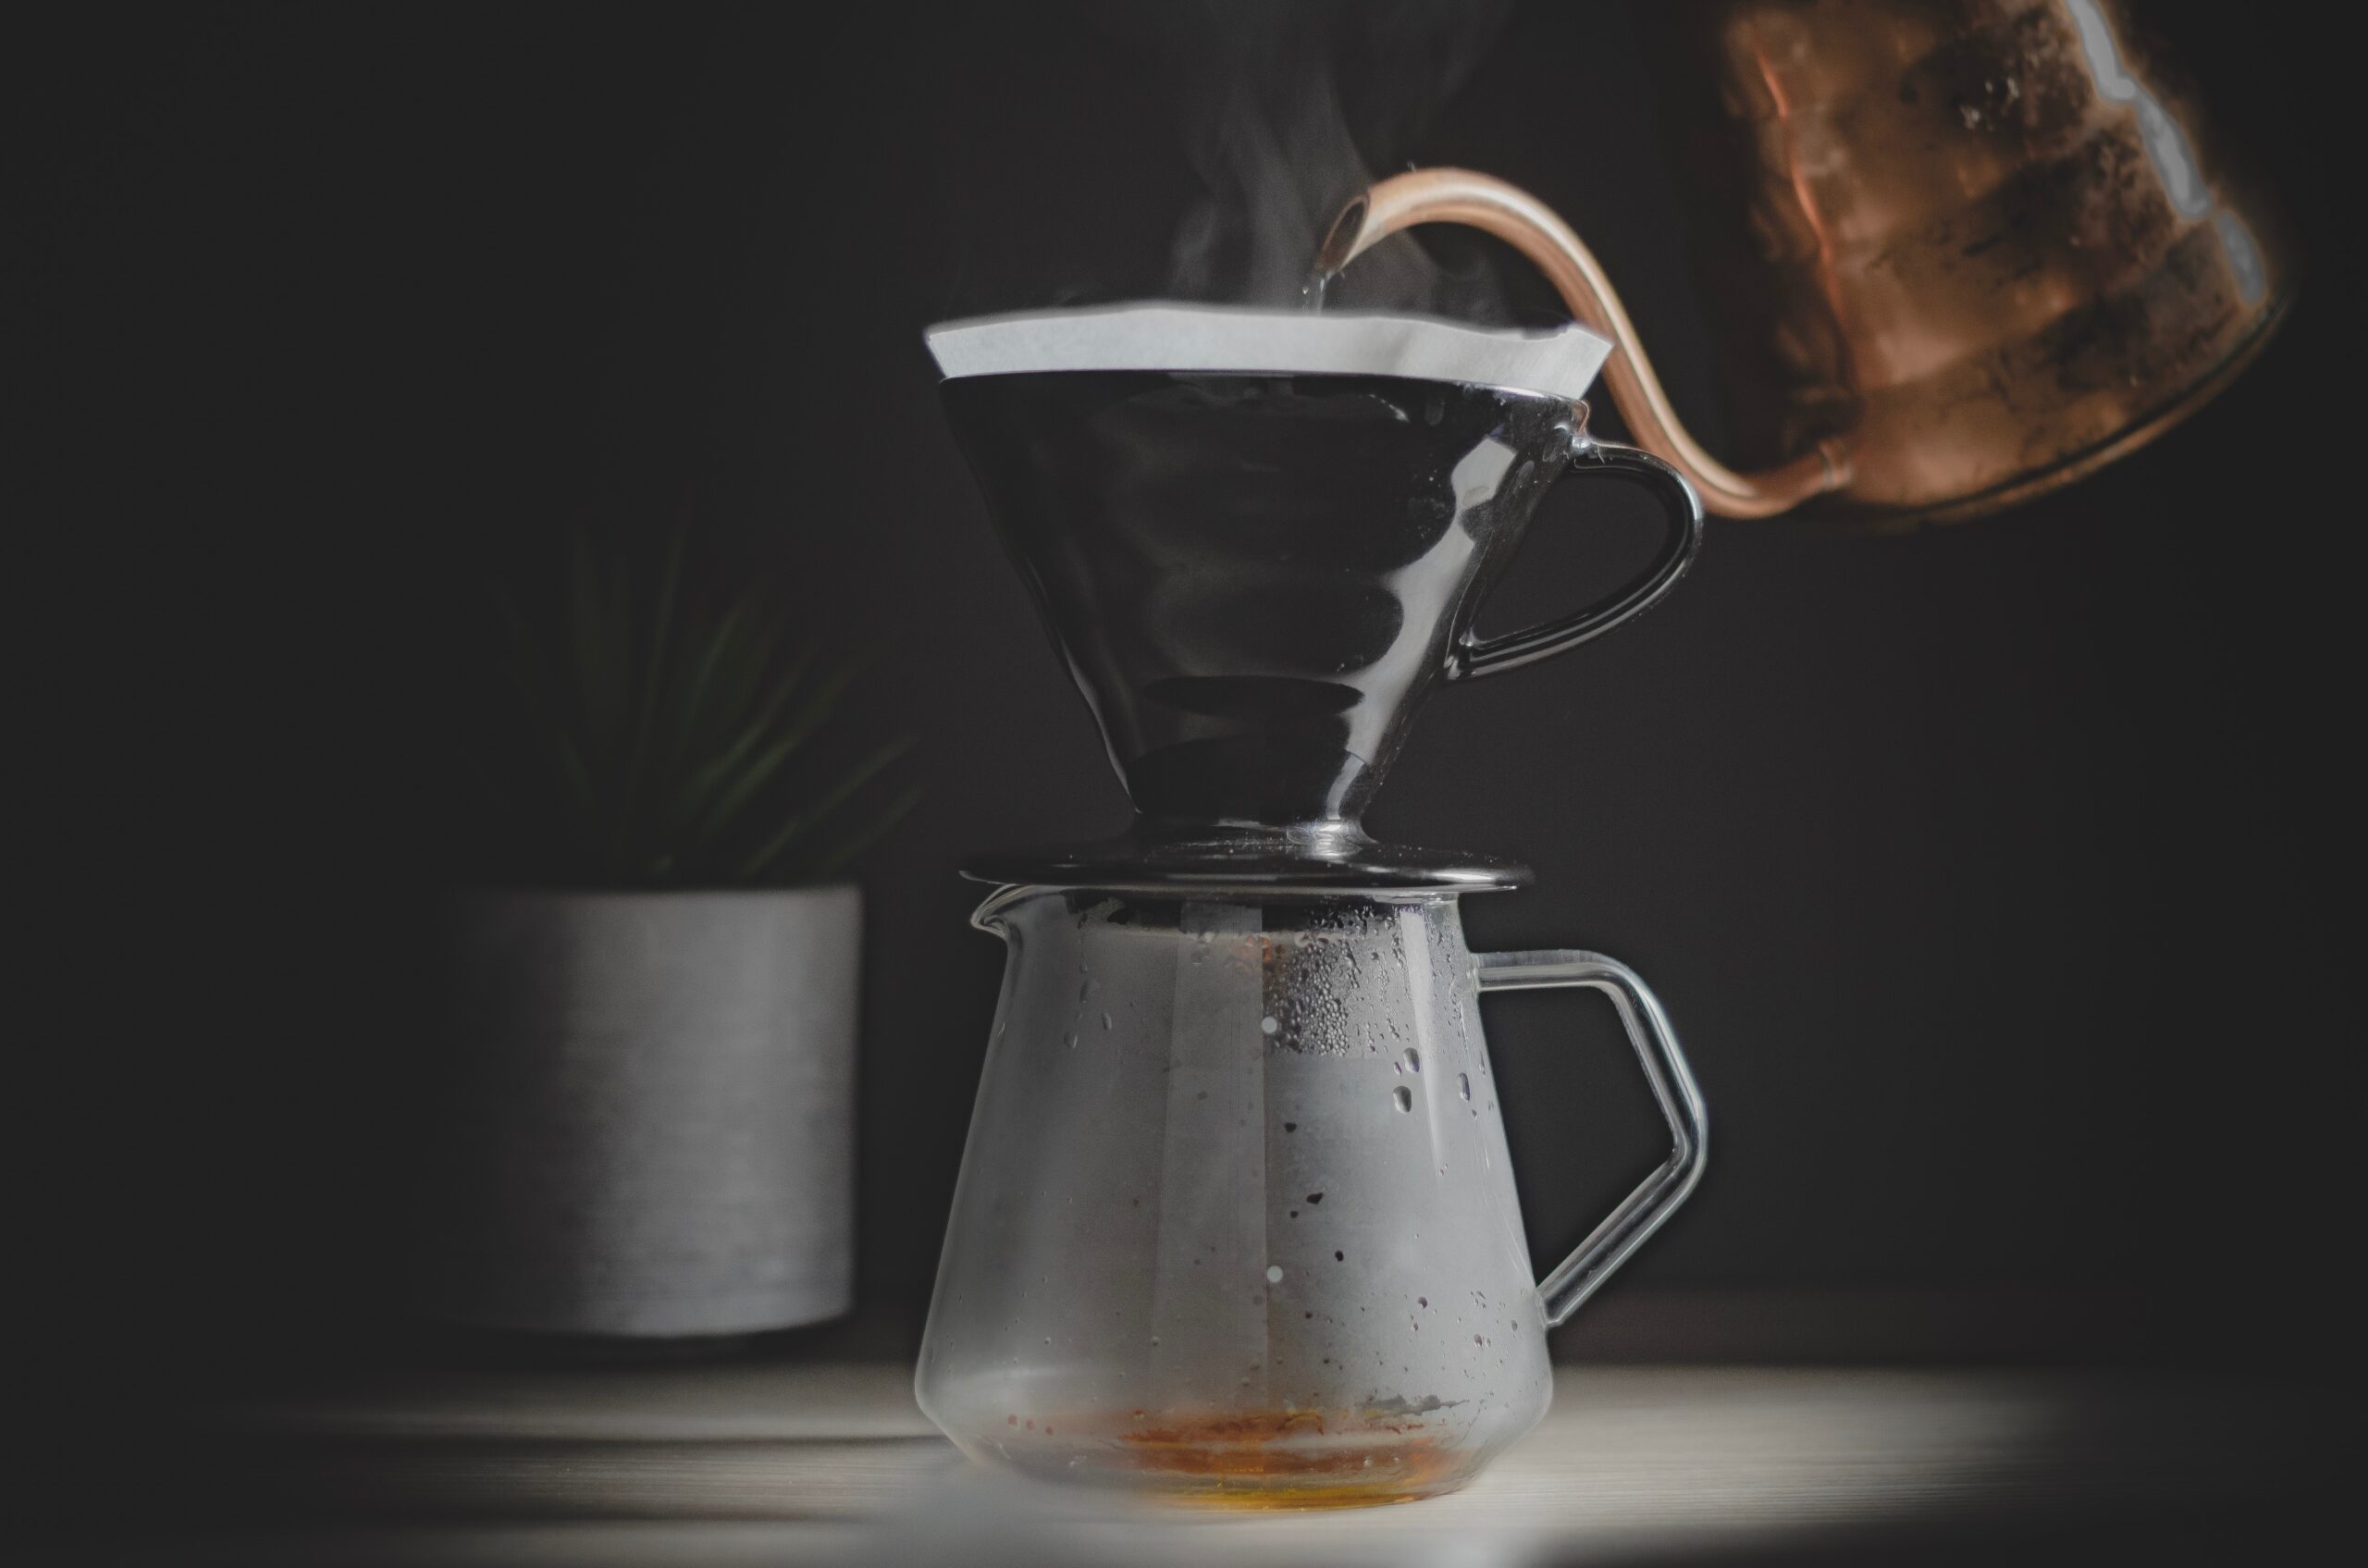
The U3 Hario V60 Perfect Pour Over Guide
Choosing the right equipment is the foundation for developing your V60 pour over method.
From water temperature and grind size to bloom time and pour rates, developing a consistent technique is key to the perfect V60 pour over.
Don’t be afraid to experiment! The beauty of the V60 is that you are in control of every step.
Welcome to the delightful and delicious world of pour over coffee! In this article, we’ll guide you through the art and science of creating the perfect pour over using the iconic Hario V60.
Maybe you’ve been searching for the perfect V60 brew method but have felt overwhelmed by all the different techniques and advice the internet has to offer. Coarse grind or fine? Electric kettle or stovetop? Glass, plastic, or metal? Single pour or stages?
Or maybe you’re a seasoned expert in crafting a satisfying pour over but are looking for some new tips and tricks to keep your technique fresh.
This is what we live for! We’ve researched all the options, weighed all the pros and cons, and have developed our own perfect V60 pour over technique.
The Ultimate V60 Pour Over Guide
In this guide, we’ll unravel the secrets behind creating an outstanding pour over with the Hario V60, exploring the equipment, ingredients, and techniques that turn a cup of coffee into a ritual to savor. From selecting the perfect beans to timing your drawdown, we’ll cover it all together.
So, grab your favorite mug and join us on a quest for the perfect pour over. Let’s unlock the potential of your beans, elevate your morning ritual, and delve into the world of brewing excellence. The journey to the perfect cup starts here.
Your Step-by-Step V60 Pour Over Brew Guide
Step 1: Choose Your Ratio
The foundational step for crafting your perfect pour over happens before you ever touch a single piece of equipment. Before you dive into the hands-on steps of the brewing process, you have to decide on the ideal ratio of coffee to water.
Here at U3, we find the ratio that works the best for the widest variety of roasts and beans is 1:16.
That means for each 1 gram of coffee, you’ll need 16 grams of water. But wait, you might be asking, I measure my coffee servings in ounces, not grams!
Since we’ll be using a scale, we’re measuring in weight (g) instead of volume (oz).
Don’t worry, we’ve got you covered!
For each 8 oz serving of coffee, you’ll want about 14 g of ground coffee and 227 grams of water.
Looking for a guide to choosing the right beans for you? We share our secrets in this post!
Pro tip: You may see a wide range of recommendations for coffee-to-water ratios. Why? Lance Hedrick points out that many of the higher ratios are based on the specialty coffees used in elite brewing competitions. But, he says, those coffees tend to be “incredibly soluble from intense processing methods and with varieties that tend to be quite dainty.” Since most of us aren’t brewing those super high-grade coffees at home, a smaller ratio is a bit more universal for most coffee lovers’ needs
Step 2: Heat Your Water
With your ratio worked out, it’s time to start heating your water. The ideal temperature range for pour over brewing is between 198°F and 205°F. A good rule of thumb is that you’ll want to use the higher end of the range for light roast coffees and the lower end of the range for dark roasts.
You’ve got options when it comes to heating your water.
1. Variable Temperature Kettle: If you’re someone who really likes precision, an electric kettle that allows for temperature control and has a “hold mode” is going to be a great option for you. You can set your kettle to the exact temperature you want, and no matter how long the next steps take, you’ll know that your water will still be the perfect temperature when you’re ready to start pouring. We especially love gooseneck kettles because they give you the most control over your pour rate.
Check out our favorite electric kettle—the Stagg EKG Electric Kettle—in the U3 Coffee Exchange!
2. Standard Electric Kettle or Stovetop Kettle: A standard electric kettle or a stovetop kettle can give you great results too! Bring your water to a rolling boil. If you’re brewing a light roast coffee, you can use water straight off the boil, which will bring out the beautiful acidity in your grinds. If you’re brewing a medium roast or dark roast, let your water cool for 30 to 60 seconds off the boil—the darker the roast, the more time you should give since the slightly cooler water will allow the sweetness of darker roasts to truly shine.
Don’t worry about weighing your water at this stage! We’ll be keeping track as we pour. But add a bit more than you need to your kettle since we’ll be using some of our heated water to prep our dripper in the next step.
Pro tip: If you’re using a short-neck kettle to boil, some coffee lovers will transfer their water to a gooseneck pitcher, to allow them more control during the pour. James Hoffman recommends against this, though, because you’ll lose heat (and temperature control) in the process, which could throw off your final cup.
Step 3: Measure Your Coffee
Once you’ve got your ratio worked out and your water heating to a boil, you’re ready to break out your trusty scale—remember a perfect cup of coffee is both art and science, and that scale is going to help us make sure that we stick to that ratio from Step 1.
Check out our favorite Hario Coffee Scale in the U3 Coffee Exchange!
Start by handpicking fresh, high-quality coffee. Opt for beans that align with your flavor preferences, be it the fruity notes of light roasts or the rich chocolate undertones of a dark roast. The key is to begin with coffee that excites your taste buds.
If grinding your own beans feels a bit too demanding for you at this point in your journey, you can always opt for ground coffee – especially as you’re working on your pour over technique and experimenting with flavor profiles. All you’ll need to do is use your trusty scale to weigh out the right amount of grinds for the number of cups you’re making. Remember, if you’re sticking to our 1:16 ratio, you’ll need about 14 g of ground coffee for each 8 oz cup.
Find our delicious selection of sustainably sourced ground coffees in the U3 Coffee Exchange!
But if you’re up for the adventure, there’s nothing quite like freshly ground beans for a perfect pour over! Weigh out your whole beans to fit the 1:16 ratio. We love our Opus Conical Burr Grinder because of its precision and consistency.
Whatever grinder you use, we’re aiming for a medium-fine grind. That will help ensure all of the incredible flavors from those grinds but keep them coarse enough to prevent them from getting compressed and clogging the dripper as we brew.
Pro tip: Wondering how you’ll tell the difference between different grind sizes? Arne Preuss has some easy-to-remember visual cues! Coarse grinds will be the texture of sea salt. Medium grinds will be more like sand. Medium-fine, which is what we recommend for your perfect V60 pour over, will be the consistency of table salt.
Step 4: Prep Your Dripper
The beauty of the V60’s simplicity is that you have so many options when it comes to how you brew! You can choose from a variety of dripper materials—plastic, metal, glass, or ceramic. You can brew into a carafe or straight into your mug. You can use disposable paper filters or a reusable metal or fabric filter.
Find our selection of V60 drippers, filters, carafes, and mugs in the U3 Coffee Exchange!
Set your dripper on top of your carafe or cup, and put in the filter of your choice. Once your water is up to temperature, pour some into your dripper to thoroughly wet your filter. If you’re using a disposable filter, this rinses away any paper residue that could affect the flavor of your cup and helps the filter stick to the sides of the dripper. But don’t skip this step if you’re using a reusable filter—it also warms your dripper and your carafe or mug, which helps with heat retention as your brew.
Be sure to discard this rinse water before you move on to the next step!
Pro tip: Scott Rao recommends taste testing a variety of paper filters, which can change the flavor and mouthfeel of your finished coffee. He says to soak paper filters in a mug of boiled water for about 10 minutes, then remove the filter and taste the water. Find the one that tastes the cleanest to you and stick with those filters.
Step 5: Add Your Grounds
Once you’ve rinsed your filter and discarded the water, it’s time to add the coffee we measured out in Step 3.
Pour in your grounds, then shake gently to create an even surface on top. We want to make sure our grounds are extracted uniformly during the brewing process and that the grounds don’t end up compacted and blocking the flow through the hole in our dripper.
Now set your brewer on your scale, make sure your scale is set to measure grams, and tare it—in other words, zero out the weight. From here on out, we’ll be using the scale just to measure our water and maintain our original ratio.
Pro tip: Elika Liftee has found a great use for that filter-rinse water—he uses it to heat the spoon or stirrer he uses, to help maintain a consistent temperature for his brew water.
Step 6: Start Your First Pour
Here’s where your scale starts to do its work. Gently pour heated water over your grinds—aim to add about 3 grams of water for every 1 gram of coffee. If you’re brewing a single cup, for example, you’ll want to add about 42 grams of water at this stage.
The goal in this step is to saturate all of the grinds, so try to pour evenly around all the coffee, and pour directly onto the coffee, not the filter.
Once you’ve added the water, quickly use a spoon or stirrer to gently move the grinds so the water can reach all of the coffee as quickly as possible. We’re not stirring in this step, just creating space for the water to move. If you think you might be too tempted to stir with your spoon, try using the handle end or a stirring rod instead. We want to avoid disrupting the grinds or compacting them; we just want them fully saturated.
Pro tip: Scott Rao emphasizes getting all the grounds consistently wet as quickly as possible to ensure even extraction—ideally within 10 seconds. He says that watching your bloom in the next step will show you how successful you were. Each bubble signifies a part of the grounds getting saturated; if your bubbles continue for 60 seconds, for example, that means that 60 seconds elapsed between the time your successfully saturated the first ground and the last.
Step 7: Allow Coffee to Bloom
In the previous step, we started our “slurry,” the mixture of coffee grounds and water, and now we’re going to allow it to “bloom.”
As soon as we wet our grounds, they began releasing carbon dioxide, which is an important step in the brewing process. That CO2 can leave our finished cup tasting harsh and sour, so during the “bloom,” we’re giving our grinds a chance to de-gas before we start brewing.
Watch for bubbles on the surface of your slurry, which will expand during this phase. Those bubbles should start to slow after about 30 to 45 seconds, at which point you’ll be ready to move on to the next step.
Pro tip: Matt Winton recommends playing with the length of your bloom time within that 30- to 45-second range to experiment with different flavor profiles—a longer bloom time may bring out a different level of taste intensity than the shorter bloom time.
Step 8: Pour Your Remaining Water
Once your bloom is complete, you’re ready to start adding the water that will create your V60 pour over coffee.
Pour the water from a consistent height and at a consistent pour rate. Pour in small circles, which will help create a little bit of turbulence and ensure that the grinds extract evenly and don’t compress and clog the opening of your dripper.
Remember, aim to pour the water onto the coffee, not on the filter.
Keep an eye on your scale, and pour until you’ve reached the goal weight based on the ratio you chose. For example, if you’re working with a 1:16 ratio and brewing an 8 oz cup, keep pouring until your scale reads 227 grams, then stop.
Pro tip: According to Jonathan Gagné, the turbulence we create when pouring is what allows the coffee to extract most evenly and efficiently. The problem with pulsing your pours, he says, is that they’re difficult to reproduce exactly every time you brew, which means that your pour overs will never have the chance to develop a consistent flavor that you can replicate from brew to brew.
Step 9: Agitate
When you finish your pour, your dripper will likely be very full as the water starts to work its way through the grinds and filter and into your carafe or mug.
Wait until you’ve got a bit of space at the top (so you don’t end up spilling any of that beautiful brew you’re creating), then use your spoon or stirrer to give the liquid a gentle stir, just enough to prevent grinds from sticking to the filter.
We don’t want to disturb the slurry in this step, so make sure your stir is delicate and focused on the liquid only.
Then, once your dripper has drained about halfway, give the brewer a final, gentle swirl, to keep the grounds from sticking and to flatten the slurry bed.
Pro tip: James Hoffman says that while you want to move the water roughly enough to get grounds off the sidewall of your filter, you don’t want to create a lasting swirl in the liquid, which could create a dome in the slurry bed below and create uneven extraction.
Step 10: Monitor the Drawdown
You’re almost there!
Allow the remaining water in the dripper to pass through the grinds. Keep an eye on this phase—known as the “drawn down.” Look for the stream to change to a drip, and then remove the dripper.
Don’t worry that there’s still a bit of liquid still in the slurry! Those final drops can tend to add a bit of bitterness to the cup, which we want to prevent.
From the time you start your pour until you reach that slow drip will take around three to four minutes.
You’re ready to enjoy your hand-crafted, perfect pour over!
Pro tip: Lance Hedrick says that if you notice your drawdown going too quickly, you can agitate the water with a spoon or by swirling the brewer to slow down the process. If it’s drawing down too slowly, give the brewer one swirl to loosen up the bed, then leave it alone.
Pro tip: Scott Rao says looking at the consistency of your slurry at the end of your drawdown will help you improve your technique over time. Your final slurry should be the consistency of wet sand. If it looks more like mud, try a slightly coarser grind on your next brew; if it looks dry,
V60 Pour Over Troubleshooting
Feel like there’s still room for improvement in your pour over technique? Here are a few tricks of the trade to keep in mind:
- If your drawdown is too fast, try a slightly finer grind.
- If your drawdown is too slow, try a slightly coarser grind.
- If your final cup tastes weak or sour, experiment with a slightly finer grind or a higher temperature for your water. (If you’re using a temperature-controlled kettle, set it to a higher temp; if not, try using water straight after it boils, without letting it cool.)
If your final cup tastes too strong or bitter, experiment with a slightly coarser grind or with less water in the bloom phase (play with using 2 grams of water for every gram of coffee instead).
Conclusion
The beauty of the V60 pour over is that it’s not just a quick, streamlined way to enjoy all the flavors in your favorite roasts; it’s also an artform, a ritual, and a celebration of the craft of coffee.
As you continue to experiment with your method, you’ll find the coffees, the equipment, and the techniques that match your tastes and elevate your coffee drinking experience. Take time to savor the rich aroma and the nuanced notes in each cup, knowing that mastering your technique pays tribute to the artisans who poured love and skill into each bean.
Special cheers to you on perfecting your perfect V60 pour over method with more knowledge! The perfect aroma coupled with the best flavor awaits you. #coffeemugsunite
Related posts
- Apr 2025 Elevate your coffee-based cocktails! Discover new takes on the espresso martini, Irish coffee, & more classic coffee drinks.
- Feb 2025 Discover the top coffee trends for 2025, from cold coffee innovations to mindful coffee drinking. Explore the latest and future coffee trends in the coffee industry.


