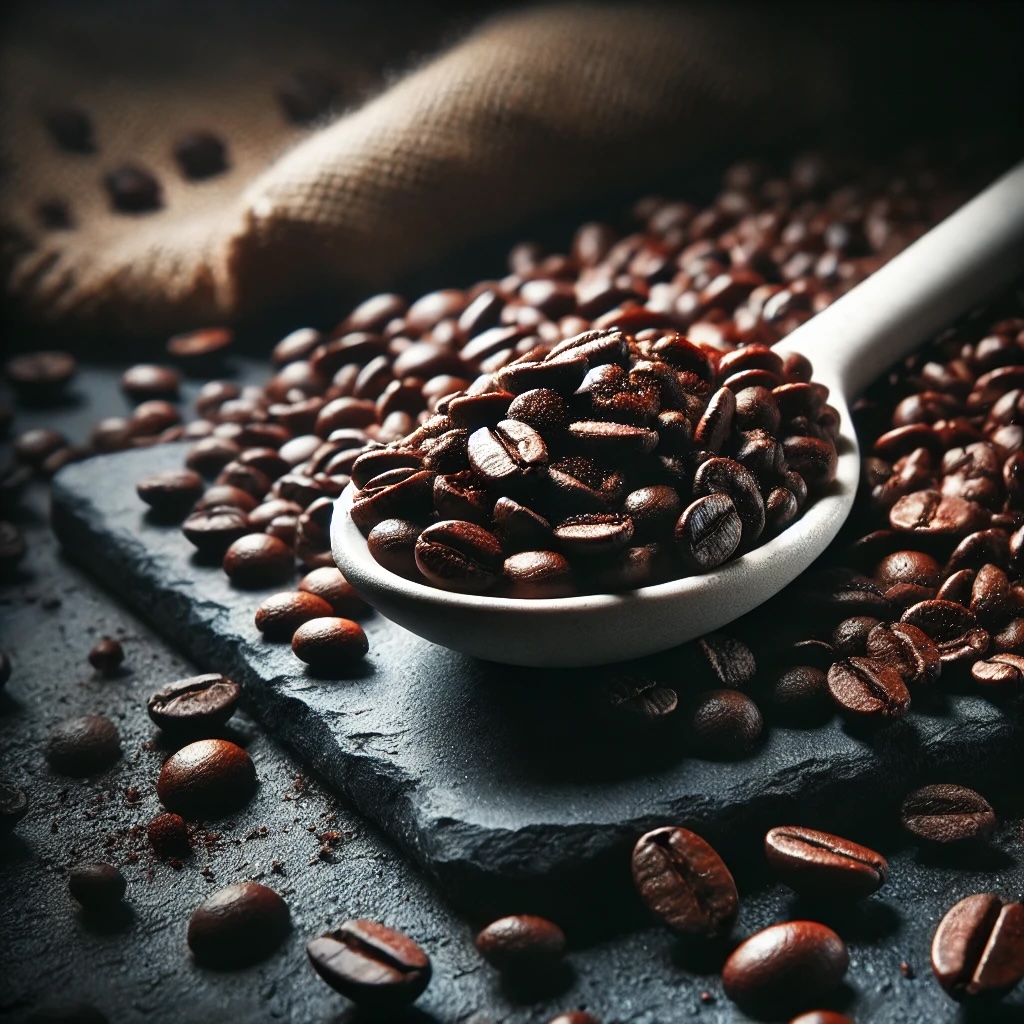
Unleashing Flavorful Coffee without a Coffee Maker
Discover a world of coffee brewing beyond the electric coffee maker, from classic cowboy coffee to innovative the innovative AeroPress.
Learn how to create rich, flavorful coffee without electricity, perfect for camping or power outages.
Elevate your coffee game with step-by-step guides to French press, cold brew, pour over, and more.
We get it, that first sip of a perfectly brewed cup of coffee is a make-or-break moment in your day. But what happens when your trusty auto drip is on the fritz? How can you make yourself a cup when you’re struck by a sudden craving while away from home? What if you love coffee but just don’t have room for one more appliance on your kitchen counter or are looking for more eco-friendly ways to make coffee?
Fear not, fellow coffee connoisseurs—we’ve got you covered! Brewing a fantastic cup of coffee transcends the limitations of an auto-drip machine. In fact, some of the simplest methods can produce truly delightful results.
So let’s embrace your adventurous spirit and dive into the wonderful world of brewing coffee without a coffee maker. From campfire classics to surprisingly sophisticated techniques, we’ll explore a range of methods that cater to every level of coffee enthusiast.
Here are six tried-and-true ways—2 electricity free and 5 electricity optional—to brew without a coffee maker!
Alternative Ways to Make Coffee: Electricity Free
Maybe you’re enjoying the wide-open spaces of the great outdoors or maybe a power outage has left you stranded—that’s no reason to give up your daily coffee ritual! Here are three brewing methods that’ll get you moving in the right direction.
The Cowboy Way: A No-Frills Route to Coffee without a Coffee Maker
For those seeking a true back-to-basics experience, the cowboy coffee method is your huckleberry. This straightforward technique is perfect for camping trips or when you need a quick caffeine fix without any fancy equipment.
Here’s what you’ll need:
- Ground coffee (start with whole bean coffee and grind it yourself with a manual coffee grinder or pick up a bag of ground coffee)
- Water
- A pot or saucepan
- Heat source (campfire, camp stove, or gas stovetop)
- A spoon for stirring
- Optional: A cheesecloth or fine-mesh strainer
Step 1: Measure
A good rule of thumb is to use 2 tablespoons of coarsely ground coffee per 6 ounces of water.
Step 2: Heat
Pour your water into your pot and bring it to a simmer over your heat source. Don’t let it boil—you want a gentle simmer.
Step 3: Stir
Add your coffee grounds to the hot water and give it a good stir.
Step 4: Brew
Let the coffee steep for 4–5 minutes, then take it off the heat. This allows the flavors to fully develop.
Step 5: Filter
This is where the optional cheesecloth or strainer comes in. Slowly pour the coffee through your chosen filter directly into your mug. If you don’t have a filter, carefully decant the coffee, leaving the settled grounds behind in the pot, and raise a mug to your brewing skills!
Cold Brew: Smooth and Refreshing Coffee without a Machine
Cold brew coffee is a refreshingly simple way to brew coffee without a coffee maker. Made by steeping coffee grounds in cold water for an extended period, cold brew is known for being smooth and less acidic. If you want a full, step-by-step guide to cold brew, check out our post on how to make cold brew at home!
Here’s what you’ll need:
- Ground coffee
- Water
- Large jar with a lid
- Scale
- Cheesecloth
- Rubber band
- Carafe, pitcher, or second jar
Step 1: Measure
Cold brew coffee, by design, produces a more concentrated finished product. We think the ideal coffee-to-water ratio is 1:10. So for every 10 g of water your jar or pitcher holds, you’ll want to measure out 1 g of coffee.
Step 2: Prep
Add your ground coffee and water to the jar, then seal up the jar with the lid. Give your jar a few good swirls to make sure the grounds are fully saturated.
Step 3: Brew
Leave the jar on your counter (it’ll brew faster than if you put the jar in the fridge at this point) for at least 12 hours, and up to 24 hours. Every few hours or so (cold brew is super forgiving!) give the jar a couple of swirls.
Step 4: Filter
Open the lid and cover the jar with cheesecloth, using a rubber band to secure it. Slowly pour the cold brew through the cheesecloth filter into your carafe, pitcher, or second jar.
Step 5: Dilute or Enjoy
Your finished cold brew will be concentrated, so you can dilute it with water, milk, or your favorite milk alternative. One of the beauties of cold brew is that it’s a brewing method, not a requirement for serving! So if cold coffee just really isn’t your thing, you can dilute it with hot water instead of cold for a cozy, warm mug!
Bonus Tip: If you’re a true cold brew fan, we think purchasing a dedicated cold brew pitcher is a worthwhile investment. You’ll get a more effective filter, a mess-free system, and a pitcher that does double-duty on both brewing and storage. Check out our review of what we think is the best cold brew pitcher from Takeya!
Alternative Ways to Make Coffee: Electricity Optional
Maybe your auto-drip machine is out for repairs or maybe you’re just looking to up your hand-brewing game. The beauty of these recipes is that you can make them work with or without electricity. Whether you’re heating your water in a precision electric kettle or a in a pot on a propane camp stove, you’ll have a delicious mug ready to savor!
French Press: A Classic for Rich-Flavored Coffee without a Machine
The French Press, also known as a cafetière, is a fantastic option for those who crave a full-bodied cup of coffee. It’s a relatively simple method that produces consistently delicious results. If you want to really hone your French press technique, check out our U3 Guide to the Perfect French Press.
Here’s what you’ll need:
- Ground coffee (if you’ve got electricity available, we’ll always rave about this incredible burr grinder)
- Water
- French press brewer
- Kettle
- Scale
Step 1: Measure
We recommend a 1:15 coffee-to-water ratio for brewing up the perfect French press. If you’re using a 34 oz. French press, for example, measure out about 60 g of ground coffee. Add the measured grounds to the bottom of the brewer.
Step 2: Heat
Heat your water to just below boiling, between 198°F and 200°F. Aim toward the higher end of the range for light roasts and the lower end for dark roasts.
Step 3: Bloom
Pour half of your brewing water over the grounds. For example, if you’re using a 34 oz French press, add about 450 g of your hot water (just enough to saturate the coffee) and let it sit for 60 seconds. This “blooming” process allows the coffee to release its CO2, resulting in a perfectly extracted cup.
Step 4: Pour
Give your grounds a gentle stir to make sure they’ve been completely saturated, then slowly pour the remaining hot water over the grounds.
Step 5: Brew
Place the lid on the carafe, leaving the plunger in place, but don’t press down yet. Let the coffee steep for 3 minutes.
Step 6: Plunge
Slowly and steadily press the plunger down until it stops. This will filter out the grounds. Then pour yourself a mug and enjoy!
Pour Over: Brewing Elegance for the Discerning Coffee Enthusiast
For coffee aficionados who appreciate a clean cup with nuanced flavors, the pour-over method is a revelation. This technique allows for meticulous control over the brewing process, resulting in a truly exceptional cup. If you’re looking for our ultimate guide to making the perfect Hario V60 pour over, check out our guide here!
Here’s what you’ll need:
- Ground coffee
- Pour-over brewer and filter (Check out our recommendations for the best pour over coffee maker!)
- Kettle
- Scale
- Carafe or mug
Step 1: Measure
A good starting point is a 1:16 coffee-to-water ratio. So, for an 8 oz cup, use around 15 g of coffee.
Step 2: Prep
Set your brewer on top of your carafe or mug, then position your filter in the pour-over cone and pre-wet it with hot water. This removes any paper taste and ensures the cone is warm for brewing. Discard the pre-wetting water, then add your grounds
Step 3: Heat
Heat your water to just below boiling, between 198°F and 200°F. Aim toward the higher end of the range for light roasts and the lower end for dark roasts.
Step 3: Bloom
Pour enough water to saturate the grounds—aim for about 3 g of water for every 1 g of coffee. Let it bloom for 30–45 seconds.
Step 4: Pour
Here comes the magic! Using a slow, circular motion, begin pouring the remaining hot water over the grounds. Aim for even saturation, and avoid pouring directly on the filter.
Step 7: Draw Down
Once the stream of brewed coffee turns to a drip, remove the brewer, and enjoy your freshly brewed cup!
Percolator: A Nostalgic Method for Perky Coffee without a Coffee Maker
The percolator, a mainstay in kitchens and breakrooms of yore, offers a unique brewing experience. This method produces a strong, full-bodied coffee with a distinctive taste.
Here’s what you’ll need:
- Ground coffee
- Water
- Percolator (electric, stovetop, or enamelware, which is perfect for a camp stove or gas cooktop)
- Paper filter
- Heat source (unless you’re using an electric percolator)
Step 1: Fill
Open the lid and remove the basket from the percolator. Add water to the pot—but don’t fill it all the way to the top. Consult your percolator’s manual for the recommended fill level.
Step 1: Measure
Position your filter in the percolator’s basket, then add put the basket back in the pot. Add your ground coffee. You’ll want about 1 Tbsp of coffee for every cup of water.
Step 3: Heat
If you’re using a stovetop percolator, place it on your range and turn the heat to medium; if you’re using an electric percolator, refer to your owner’s manual. As the water heats, it will rise through a tube in the center and disperse over the coffee grounds. This cyclical process is what gives the percolator its name.
Step 5: Brew
Once the percolator starts to sputter and gurgle, that’s your cue. Unlike some coffee makers, stovetop percolators don’t automatically shut off. To avoid over-extraction and bitterness, remove the percolator from the heat source once it starts sputtering. Let the coffee cool for a few minutes before you pour yourself a perky mug!
Moka Pot: A Stovetop Espresso Alternative with a Kick
The Moka pot, a classic of home brewing, creates a strong, concentrated coffee that’s similar to espresso but without the fancy equipment.
Here’s what you’ll need:
- Ground coffee
- Water
- Moka pot
- Heat source
Step 1: Fill
Unscrew the Moka pot and fill the lower chamber with water just below the safety valve. The valve is usually a small relief mechanism on the side of the lower chamber.
Step 2: Measure
Place the funnel filter basket in the upper chamber and fill it with your coffee grounds. You’ll want about 1 Tbsp of ground coffee for each cup of water. Once your coffee is in, screw the upper chamber onto the lower chamber of the pot.
Step 3: Heat
Place the Moka pot on your stovetop over medium heat. As the water heats, pressure will build, forcing the hot water up through the coffee grounds and into the upper chamber.
Step 4: Brew
Once the coffee starts brewing, you’ll hear a gurgling sound. When the sound becomes a sputter, and the upper chamber is mostly full, remove the pot from the heat source. There should still be a little blonde colored coffee left in the bottom chamber—this is normal. Allow to cool for a few minutes, then pour and enjoy!
AeroPress: Quick, Portable, and Flavorful Coffee on Demand
The AeroPress is a versatile brewing device that’s become a favorite among coffee enthusiasts for its speed, convenience, and ability to produce a clean, flavorful cup. It’s particularly well-suited for those who crave a quick caffeine fix or who need to brew coffee away from home.
Here’s what you’ll need:
- Ground coffee
- AeroPress brewer (with AeroPress control filter cap)
- AeroPress filter (available in disposable paper or reusable stainless steel)
- Kettle
Step 1: Prep
Add your filter to the AeroPress filter cap and reposition the filter cap in the chamber. Place the brewer on top of your mug. Pre-wet it with hot water to remove any paper taste and warm the chamber for brewing. Discard the pre-wetting water.
Step 2: Measure
Use the handy AeroPress scoop to measure out one scoop (about 2 Tbsp) of ground coffee, and add the grounds to the chamber.
Step 3: Heat
Heat your water to about 185°F.
Step 5: Pour
Slowly pour the hot water over the grounds, aiming for even saturation. Once all the water is poured, stir the mixture gently to ensure even extraction.
Step 6: Brew
Place the plunger on top of the chamber and press down about a half an inch. Wait 60 sec to allow coffee to brew.
Step 7: Press
Press down slowly but firmly with a steady pressure. Don’t force it—a gentle press is all you need. Once you hear a hissing sound, that’s your cue to stop pressing. Remove the brewer and enjoy the finished product!
How to Make Coffee without a Coffee Maker: Easy and Delicious
As you can see, there’s a whole world of coffee brewing methods waiting to be explored! From the rugged simplicity of cowboy coffee to the artistic elegance of pour-over to the hands-off process of cold brew, there’s a technique to suit every taste and preference. So, next time you decide to take a break from your coffee maker, embrace the opportunity to experience the delightful world of brewing coffee without a machine. With a little practice, you might just discover your new favorite method—and a newfound appreciation for the simple pleasure of a perfectly brewed cup.
Cheers to you for diving deep into the world of coffee with us! U3 Coffee exists to create the most meaningful coffee experience for millions of mindful, motivated humans like you. Let’s learn, empower, and celebrate the journey from bean to cup. Because here, we’re United by Coffee.
Related posts
- Apr 2025 Elevate your coffee-based cocktails! Discover new takes on the espresso martini, Irish coffee, & more classic coffee drinks.
- Feb 2025 Discover the top coffee trends for 2025, from cold coffee innovations to mindful coffee drinking. Explore the latest and future coffee trends in the coffee industry.


